As a supplier of silicon microphones, I often receive inquiries from customers about how to connect a silicon microphone to a circuit. In this blog post, I'll provide a comprehensive guide on this topic, covering everything from understanding the basic principles to practical connection steps.
Understanding Silicon Microphones
Silicon microphones, also known as MEMS (Micro - Electro - Mechanical Systems) microphones, have become increasingly popular in recent years due to their small size, low power consumption, and high performance. They work based on the principle of converting sound waves into electrical signals. When sound waves hit the diaphragm of the silicon microphone, it vibrates, and this vibration is converted into an electrical signal through a capacitive or piezoresistive mechanism.
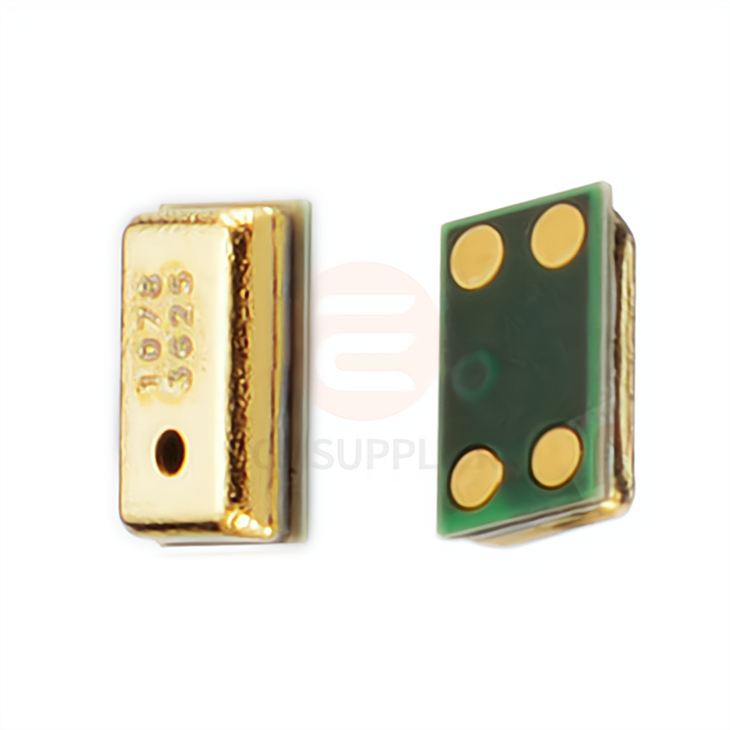
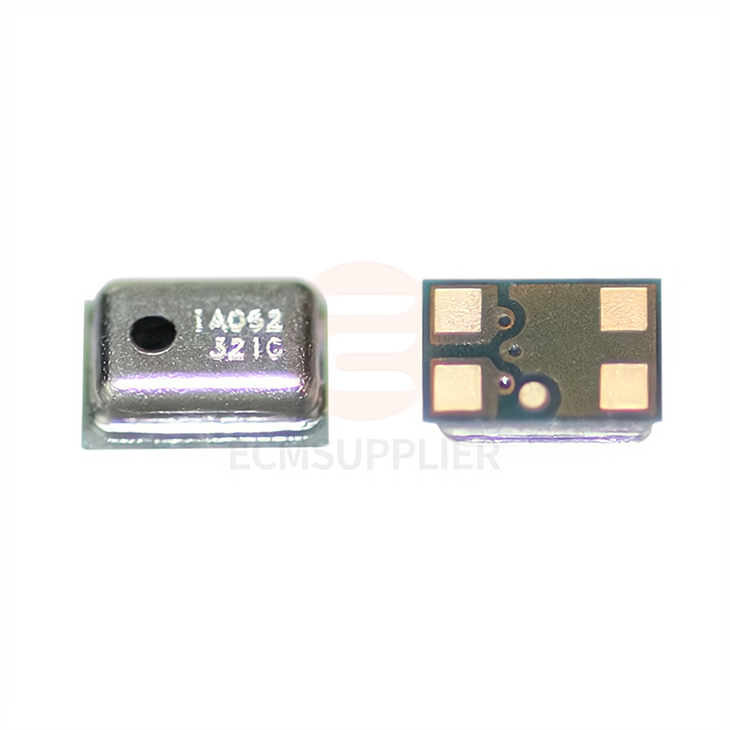
We offer a variety of silicon microphones, such as the 3729 Silicon Microphone Head MEMS, 3722 Silicon Microphone, and 2718 Silicon Microphone. Each of these products has its own unique features and specifications, suitable for different applications.
Prerequisites for Connection
Before connecting a silicon microphone to a circuit, you need to have a clear understanding of the following:
- Power Requirements: Check the datasheet of the silicon microphone to determine its power supply voltage and current requirements. Most silicon microphones operate at low voltages, typically between 1.5V and 3.6V.
- Output Type: Silicon microphones can have different output types, such as analog or digital. Analog microphones output an analog voltage signal proportional to the sound pressure, while digital microphones output a digital audio stream. Make sure your circuit is compatible with the output type of the microphone.
- Pin Configuration: The pin configuration of the silicon microphone varies depending on the model. The common pins include power supply (VDD), ground (GND), output (OUT), and sometimes a bias or enable pin. Refer to the datasheet for the exact pinout.
Connection Steps
Step 1: Prepare the Circuit Board
Design and fabricate a printed circuit board (PCB) or use a breadboard for prototyping. Make sure the PCB has appropriate traces for power, ground, and signal connections. If you are using a breadboard, ensure that the connections are secure and there are no short - circuits.
Step 2: Power Supply Connection
- Positive Power Supply (VDD): Connect the VDD pin of the silicon microphone to the positive terminal of the power supply. Use a decoupling capacitor (usually in the range of 0.1μF - 1μF) between the VDD and GND pins to filter out any high - frequency noise. Place the capacitor as close as possible to the microphone pins.
- Ground (GND): Connect the GND pin of the microphone to the ground plane of the circuit. A good ground connection is crucial for reducing noise and ensuring stable operation.
Step 3: Output Connection
- Analog Output: If the microphone has an analog output, connect the OUT pin to the input of an amplifier or an analog - to - digital converter (ADC). You may need to use a coupling capacitor to block any DC component in the output signal. The value of the coupling capacitor depends on the frequency response requirements of your application.
- Digital Output: For digital microphones, connect the output pins (usually a clock and data line) to the corresponding input pins of a digital audio processor or a microcontroller. Follow the specific communication protocol (such as I2S or PDM) described in the datasheet.
Step 4: Bias or Enable Pin (if applicable)
Some silicon microphones have a bias or enable pin. If so, connect this pin to the appropriate control signal according to the datasheet. This pin can be used to turn the microphone on or off or to adjust its operating mode.
Considerations for a Good Connection
- Signal Integrity: To ensure good signal quality, keep the signal traces as short as possible and away from high - frequency noise sources such as power lines and switching regulators. Use proper shielding and grounding techniques if necessary.
- Noise Reduction: In addition to the decoupling capacitor, you can use ferrite beads or inductors in the power supply line to further reduce noise. Also, avoid placing the microphone near sources of mechanical vibration, as this can introduce additional noise into the signal.
- Thermal Management: Although silicon microphones generally have low power consumption, excessive heat can affect their performance. Make sure there is proper ventilation around the microphone and avoid placing it near heat - generating components.
Troubleshooting
If you encounter problems after connecting the silicon microphone to the circuit, here are some common issues and solutions:
- No Output Signal: Check the power supply connections to ensure that the microphone is receiving the correct voltage. Also, verify the output connection and make sure there are no loose wires or broken traces.
- High Noise Level: Check the decoupling capacitor and other noise - reduction components. Make sure the ground connection is good and there are no electromagnetic interference sources nearby.
- Incorrect Output Level: If the output signal is too weak or too strong, check the gain settings of the amplifier or ADC. You may need to adjust the circuit parameters according to the microphone's output characteristics.
Conclusion
Connecting a silicon microphone to a circuit requires careful planning and attention to detail. By following the steps and considerations outlined in this blog post, you can ensure a successful connection and achieve optimal performance from your silicon microphone.
If you are interested in our silicon microphones or need further technical support for the connection process, please feel free to contact us for procurement and negotiation. We are committed to providing high - quality products and excellent customer service.
References
- Manufacturer datasheets of 3729 Silicon Microphone Head MEMS, 3722 Silicon Microphone, and 2718 Silicon Microphone.
- "MEMS Microphone Handbook" by various industry experts.
- Application notes on MEMS microphone design and connection from semiconductor manufacturers.


